Installation/Removal
This page is divided to 2 segments. The first will discuss installation and the second will discuss removal. Follow this easy step-by-step guide to make sure Rebillia is properly installed on/removed from your store.
Installation
Note – The first step of the installation will be the “Pre Installation Checks”. Please follow our documented file HERE to make sure that your store is ready for the implementation of Rebillia. If you have already gone through this step and confirmed that you have passed those checks – continue through this guide. (this will also come as step #1 in the software installation itself).
After you have found the app in the market place and clicked the “Install” Button, follow the steps below:
- 1. Choose the plan that fits your store and click the “Sign Up” button.
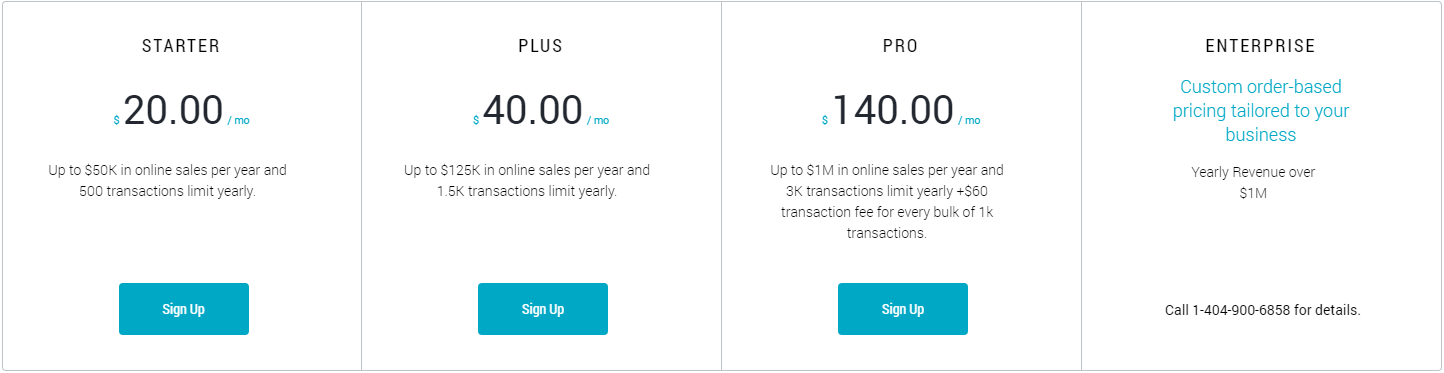
- If you do not fit in the 3 tiers of plans, please five us a call at (404) 900-6858.
- 2. Fill up the forms completely with your information. When done, check the box in the bottom and click the “Start your free Trial” button.
- Note – We deal with your checkout page. No error is too small – please enter contact information as personal as possible should we need to contact you.
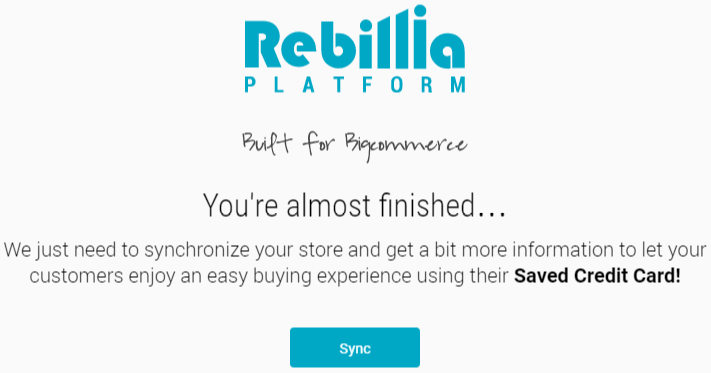
- 3. By clicking on the “Sync” button, your account will be activated and you could start the Setting Configuration steps.
- 4. If you didn’t do the Pre Installation Checks described in the beggining of this guide, Please go HERE and follow the guide before continuing with this guide.
- 5. Settings Configuration Step #1:
- Choose your operating Gateway from the list.
- Enter the credentials from your Gateway account.
- Choose the charging method you are working with on your store.
- Check the box should you want to check for security code upon purchase.
- 6. Settings Configuration Step #2:
- Enter your store’s Secure Domain Name as it shows in the address bar on your current page. Follow this format: https://yourstore.com. If you do not have an SSL certificate, the address bar will show a URL along this line: https://store-4Vd54.mybigcommerce.com. You MUST use an address starting with https://
- 7. Settings Configuration Step #3:
- Choose your store’s theme framework – Stencil Or BluePrint.
- For BluePrint, follow these instructions:
- Click on the highlighted HERE in step 1, then click close on the pop up. This has copied a piece of code to your clipboard.
- Click on the highlighted HERE in step 2, this will open your ‘footer.html’ file in the design mode. Scroll all the way to the bottom, paste the code you just copied and click Save on the top left corner of the screen. DON’T CLOSE THIS TAB.
- Click on the highlited HERE in step 3, then click close on the pop up. This has copies another piece of code to your clipboard.
- Go back to the Design Mode tab, and click on the highlighted link ‘styles.css’ on the left panel. Scroll all the way to the bottom, paste the code you just copied and click Save on the top left corner of the screen. You can now close this tab.
- For Stencil, follow these instructions:
- Click on the highlighted HERE in step 1, then click close on the pop up. This has copied a piece of code to your clipboard.
- Click on the highlighted Web Analytics still in step 1, this will open your web analytics script block. Scroll all the way to the bottom (if you have text implemented there already), paste the code you just copied and click Save on the bottom-right corner of the screen.
- Click on the highlited HERE in step 2, then click close on the pop up. This has copies another piece of code to your clipboard.
- From your BigCommerce admin panel (open in a new tab), click on “Storefront Design” –> “My Themes“.In the main page (right panel), under the title “My Themes“, click on the theme image. This will transfer you to the theme page, where you will click on “Theme Options” on the top right corner and choose “Make A Copy” from the dropdown menu.Recommended: Set the copy name as “The name of the theme” + Rebillia + “The version of the theme”.After submitting, BigCommerce will process the copied theme files. Once the processing is done, click on the theme picture, click “Theme Options” on the top right corner and choose “Edit Theme Files” from the dropdown menu.In the design mode tab that was just opened, follow this path – Assets –> SCSS.
paste the following code in the bottom of the “checkout.scss” file:
- 8. In the Rebillia Installation tab, click on the “Done” button to finalize the installation.
*for more accurate assistance implementing the codes, you can go to the “Code Implementation” section in the documentation.
Note – Please go to our documented “Post Installation Checks” and follow the instructions to make sure Rebillia is fully operational on your store.
Removal
The steps for removing Rebillia from your store depend on which products you are using from our offering. If you are using our Subscriptions product, follow through all the steps below. Otherwise, skip to step #2.
Cancelling subscribers, removing subscriptions and intervals.
1. Go to the Rebillia app and navigate to the “Subscriptions” tab. There, for each subscription product –> click on the gear box to the right, select Delete and confirm the deletion of the subscription product. Note – if you have active subscribers on this product, Rebillia will unsubscribe all of them once the deletion is confirmed.
2. Once all subscription products are removed, navigate to the app settings (top-right corner of the screen, click on the person icon and select “Settings” from the dropdown menu) and “Subscription Intervals”. For each interval created —> click on the gear box to the right, select Delete and confirm the deletion of the interval.
Disengaging Rebillia from your store
3. From your BigCommerce back-end, go to “Advanced Settings” –> “Web Analytics”. There, in one of the available tabs, you will find a bulk of code marked by <!–Start Rebillia Code–> and <!–End Rebillia Code–>. Delete the whole bulk of code.
4. Navigate to your store theme files (“Storefront” –> “My Themes” –> Edit theme files). In the theme files, navigate to either of the following directories (depending on your store theme):
templates/core/account/_private/navigation.html
templates/components/account/navigation.html
In this directory there will be between 1 to 3 links that Rebillia embedds into your store. Delete them. For reference, here is one for you to know how they look like:
<li class="nav-item"> <a href="#" class="rebillia-manage-account jq-rebillia-manage-account" data-section="paymentoptions" data-type="rebillia-navLink" style="pointer-events: none; opacity: .45;">Manage Payment Options</a></li>
5. Uninstall the app from your BigCommerce store and contact your account manager / our support team to cancel your subscription with Rebillia.